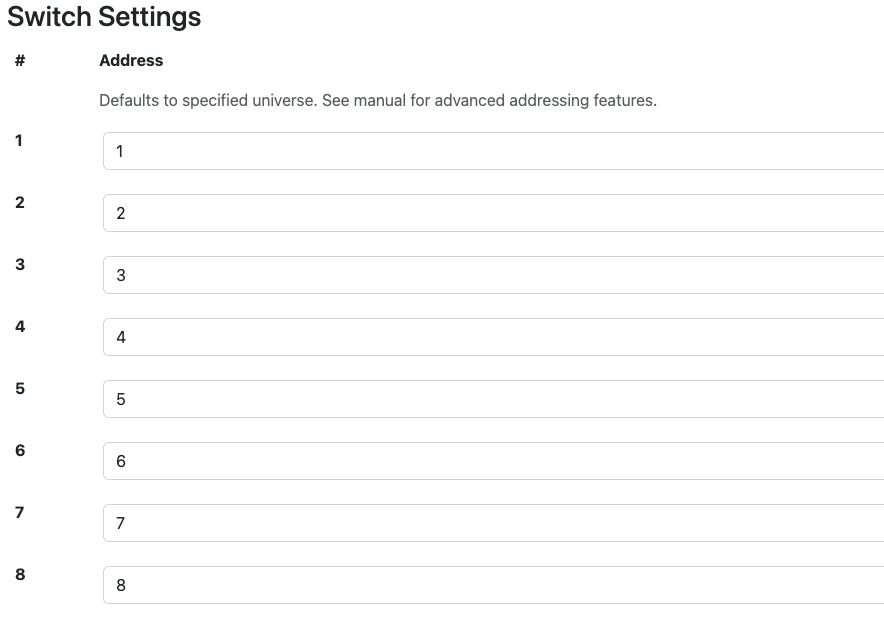
The Switch Settings section settings allows you to configure output information for each switch.
Simple addressing allows you to easily set a single address to on (100%) or off (0) with each switch.
Advanced addressing allows for more complex programming of switches, including:
- Controlling multiple addresses with a single switch
- Setting each address to a specific level, rather than on/off
See details below on how to configure switch addresses.
Simple Addressing
- If a number 1-512 is put in the box next to the switch, it will patch that switch in the default universe. Note that the default universe is also output from the DMX port on the back of the controller.
- In the screenshot at right, each switch is patched to its own DMX address (so switch 1 is 1, switch 2 is 2, etc.). If we entered “45” for switch 3, then switch 3 would control DMX address 45.

If you do not need more than one universe output, it is recommended to set things up this way with the sACN Default Universe set to the universe you want output, and the switches patched as needed.
With this notation, when a switch is off, it outputs 0; when a switch is on, it outputs 100%.
Addressing Outside the Default Universe
The Prospero v3 can output multiple universes. At the moment, this is capped at 9 universes, and the default universe is always in the first one.
All universes are output as multicast.
There are two ways to notate addresses in universes other than the default universe:
- Absolute address: 513 is the first address in universe 2
- Slash notation: 2/1 is the first address in universe 2.
If sACN Default Universe is not set to 1, absolute addresses 1-512 will be mapped into the default universe. For addresses in universe 1, slash notation (1/1 - 1/512) must be used.
Advanced Addressing
All whitespace in the address field is ignored, so “312@127” is the same as “312 @ 127”.
Setting Levels
Using the simple addressing method above, a number with no other delimiters or punctuation sets that slot to 255, or 100%.
- Ex: “312” is the same as “312 @ 255”.
To set an address to a level between 0 and 255, use an @ symbol between the address and level.
- Ex: To have Switch 1 set address 312 to 127, input “312 @ 127” in the address field for Switch 1.
The level can also be set as a percentage of 255 by including a % symbol after the level number.
- Ex: “312 @ 50%” is valid syntax and is the same as “312 @ 127”.
Values above 255 or 100% are invalid and will set the level to 255.
Addressing Ranges
Addresses can be specified as inclusive ranges using the “-” operator.
- Ex: “312-314” specifies the addresses 312 through 314, including both ends (312, 313 and 314)
Ranges may be combined with the “@” operator to set a range to a specific level:
- Ex: “312-314 @ 50%” will set addresses 312, 313 and 314 to 50%.
Ranges may not span universes. “510-514” is not a valid range. In this case, use the complex syntax below to specify multiple ranges for the same switch.
Complex Syntax
“Address @ level” phrases can be combined with semicolons
- Ex: “312 at 100%”, “313 at 50%” and “314 at 25%” can be written: “312 @ 100%; 313 @ 50%; 314 @ 25%”.
Semicolons and dashes can be combined as well, to include ranges rather than single addresses:
- Ex: “311-316; 317 @ 127; 515 @ 10%” will set addresses 311, 312, 313, 314, 315, and 316 (in the default universe) to full, slot 317 to 127, and universe 2 address 3 to 25 (10%).
To specify a range across multiple universes, separate the addresses into a range for each universe, and combine with a semicolon:
- Ex: To specify the range “510-514”, use “510-512; 513-514” (absolute addressing) or “510-512; 2/1-2” (slash notation).
Notes & Limitations
- There is a hard limit of 100 address in any switch (that is, 1-100 is fine, but 1-101 will only control 1-100)
- Address specifications are limited to 100 characters per switch
- Output is currently capped at 9 universes. If you address more than 9 universes, the first 9 used in configuration will be output, while additional universes will be ignored silently.
Finishing Configuration
The controller must be rebooted after all configuration changes are complete.
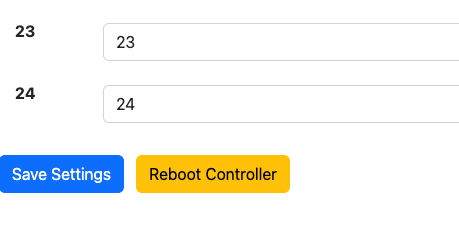
First click the “Save Settings” button.
Then, click the “Reboot Controller” button at the bottom of the Configuration page.
The controller can also be rebooted by power cycling.

The web interface has not been tested with every possible long address string, so it is possible to crash the controller if using a very complicated address string.
If the controller is still working after reboot, but a specific switch isn’t functioning, try rewriting the address field for that switch.
If the controller crashes on reboot, you will need to use the factory reset function to clear the configuration and start over.
If you have problems with a particular syntax crashing the system, please email us at support@benpeoples.com to report the bug!
