The first section of configuration settings controls the device as a whole.
Save Settings
This button appears at the top and bottom of the Web Interface. Changes are not saved until you press the button.
Identify Mode
Checking this box will cause the device LEDs to flash on and off, but will not blink the outputs. Unchecking the box will stop this behavior.
This is helpful if you have multiple Prosperos on a network, to ensure that you are talking to the correct one.
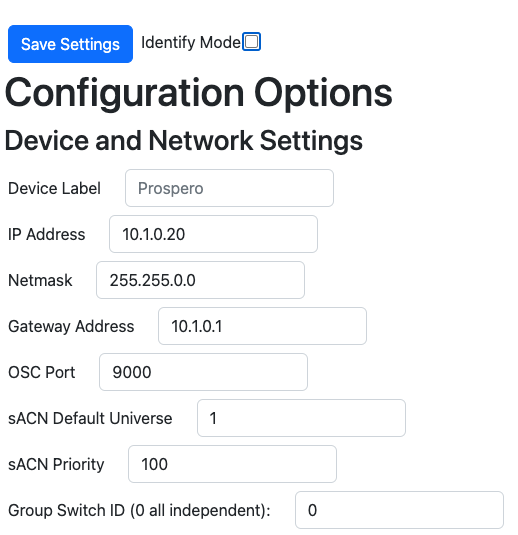
Device Label
This is a label used to identify the device, with a maximum of 32 characters or octets (i.e., if you use unicode it may be less than 32 characters). This information shows up in the sACN label.
IP Address
This shows the current IP address and allows you to edit the IP address if needed. Be aware that you will need to access the web interface through the new IP address to restore connection after changing the unit’s IP address.
Additionally, if you change the IP address, it will not take effect until you reboot the unit.
Netmask
This should match the subnet settings on your network.
Gateway Address (optional)
This is the address for your default router, if needed.
OSC Port
This is the port for OSC packets, but is currently unimplemented.
sACN Default Universe
This is the default universe for output. The default universe is always output from the DMX connectors on the back of the device. If this value is set to 0, the default universe will not output through sACN, only through DMX.
See  Configure Switch Settings for more details on default universe configuration.
Configure Switch Settings for more details on default universe configuration.sACN Priority
This is the priority 1-200 for the data output from the device. Prospero does not support per-channel priority.
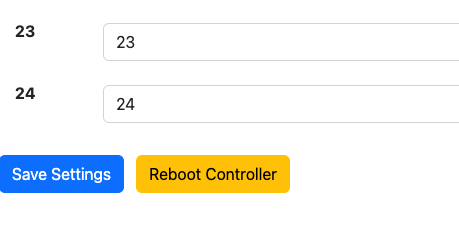
Group Switch ID
- If set to 0, all of the switches operate independently.
- If set to a value 1-24, that switch will control all other switches. If the group switch is off, all switches are output as 0. If the group switch is on, all switches will output based on their value.
- Note that the Group Switch can also be patched into an output.
Reboot Controller
This button reboots the controller. When changing the IP address, the controller must be rebooted for the change to take effect. Additionally, some changes to the switch output settings will require a reboot to take effect, so it is generally a good idea to reboot after changing settings.