All of Rosalind Lite’s features can be programmed through RDM tools.

Any RDM tool will work with Rosalind Lite, but each is slightly different. The instructions below are for programming via DMXCat™️. If you are using a different RDM tool and run into problems, reach out to us at support@benpeoples.com - we’re happy to help!
Connecting via DMXCat™️
Connect your DMXCat™️ to the DMX In port on the back of the button station. When DMXCat™️ boots up, choose RDM Controller.
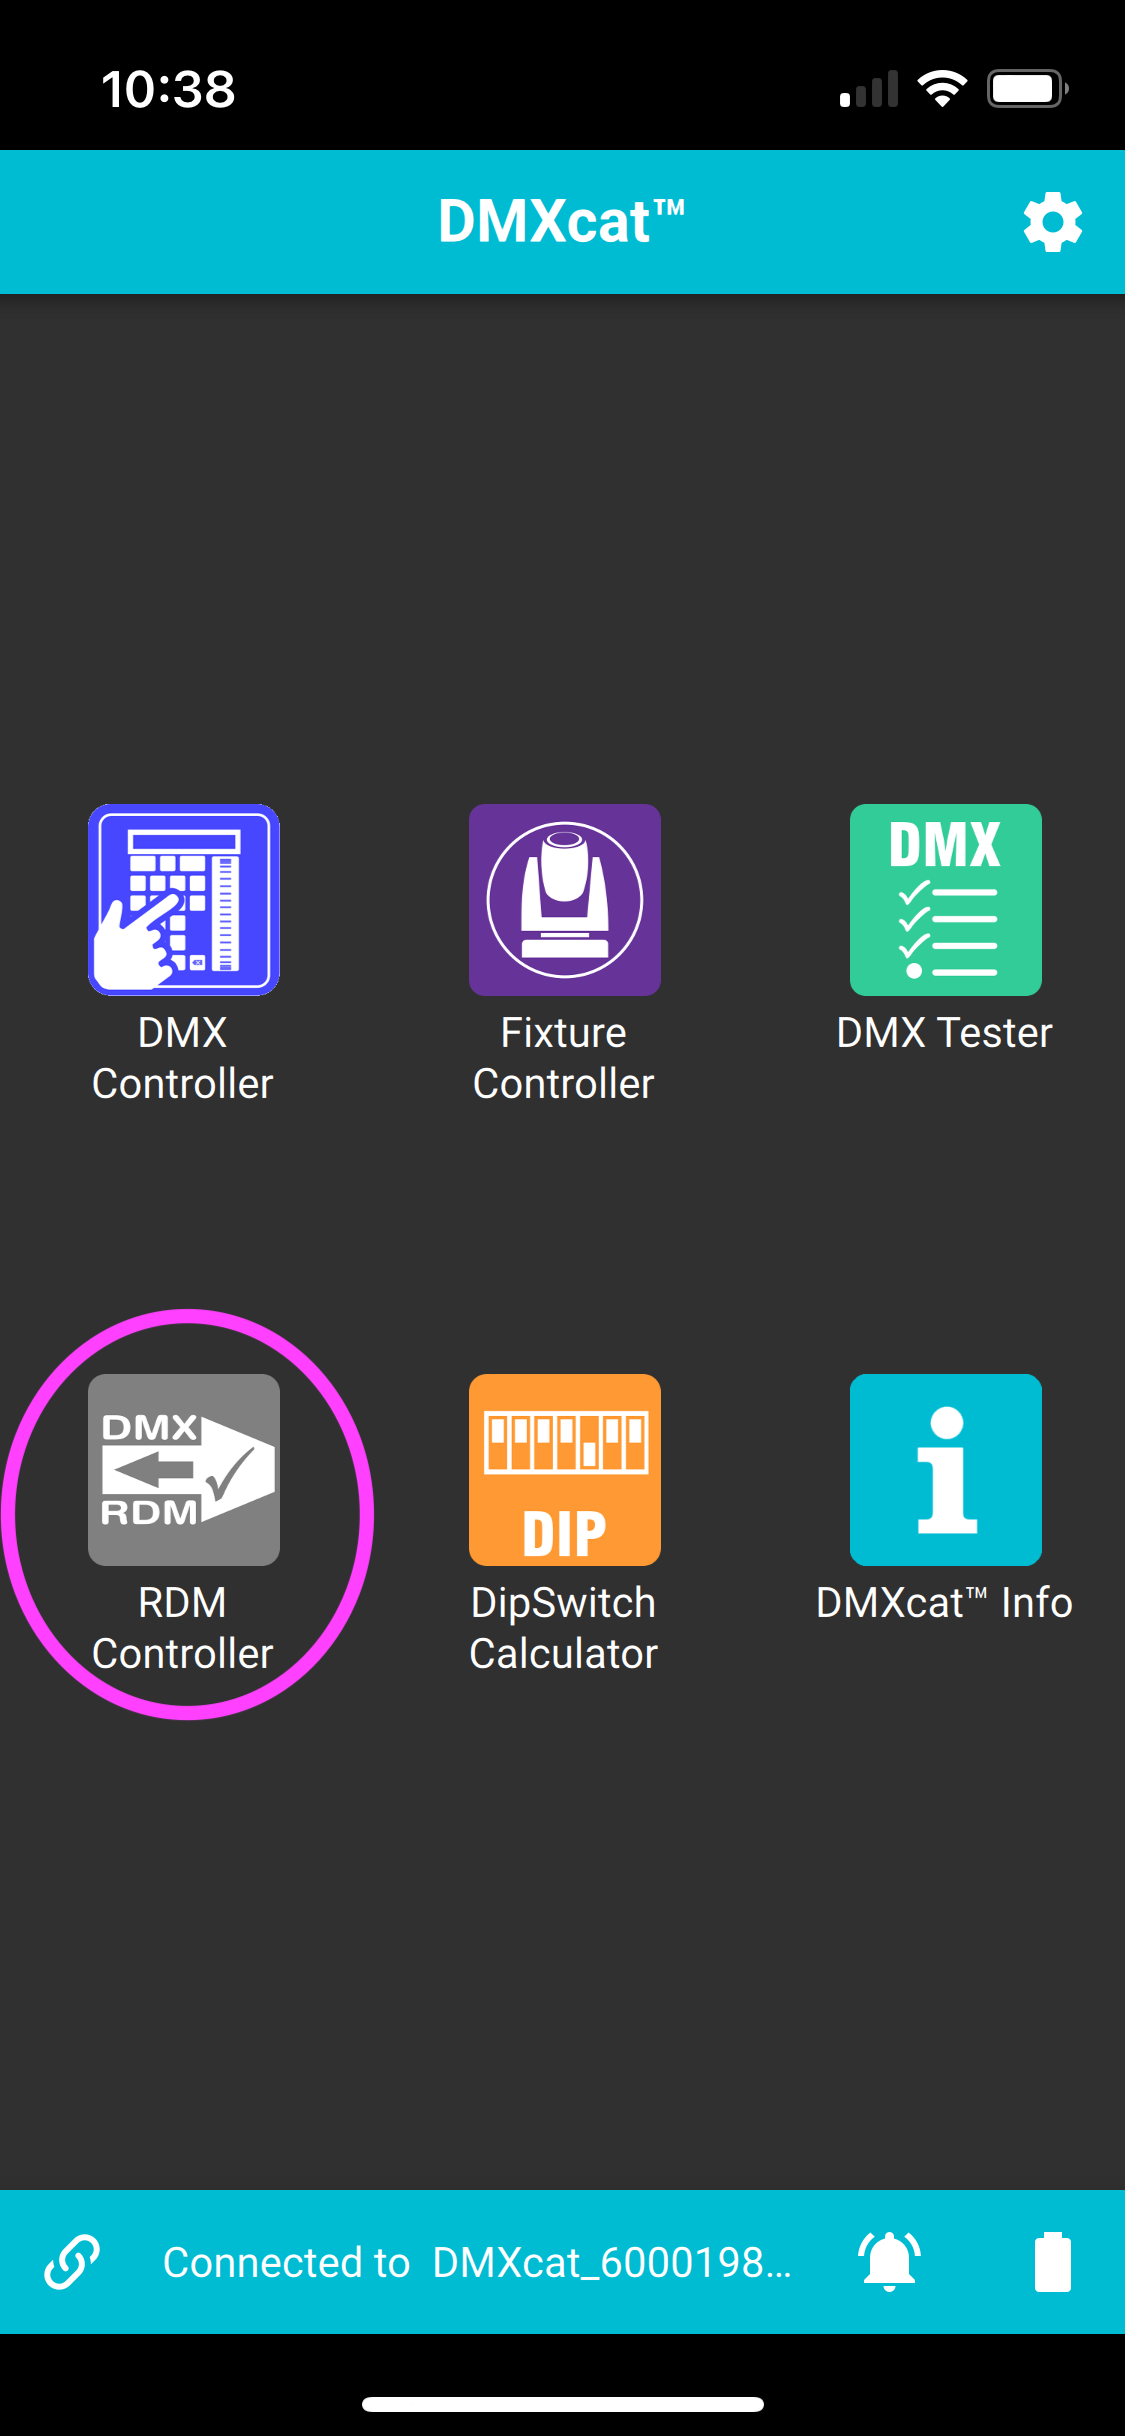
The Rosalind Lite Button Station will be listed. Select the RDM Controller icon.
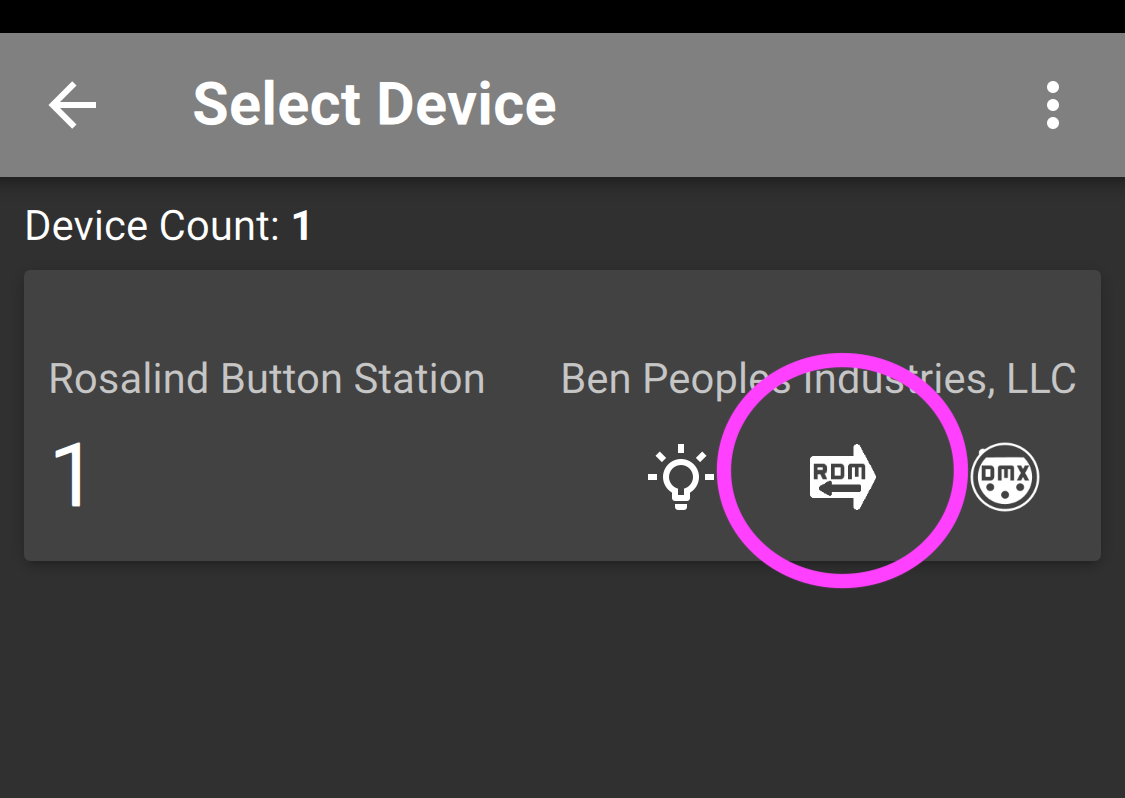
Locating the Settings
Scroll along the top of the DMXCat™️ screen to select Manufacturer Settings. Here you’ll find all of Rosalind Lite’s programmable features.
Please note that when programming via RDM, each setting must be updated individually. Change the value and press the “play” button to save it.
Setting Options
For the following settings, 0=OFF, 1=ON.
Programming Lock
If set to 1, you will be unable to put any of the buttons into Program Mode, either through RDM or through the 4-button press on the controller itself.
Enable Pileon Snapshots
Pile-on snapshots allows more than one preset to be active, primarily masked by whether a value is above 0 in that preset.
This is primarily useful for zone control that does not overlap in any way, such as the house lighting in an auditorium.
Enable Push on Push off (POPO)
By default, short-pressing an active button has no action - if you want to turn the current preset off, you long press the button and it fades the lights to black.
If POPO mode is enabled, pressing an active button is the same as long pressing the button and will immediately fade the lights out.
DMX Output Speed
This sets the DMX output speed, per the following table:
0 | Max | 43.5Hz |
1 | Max | 43.5Hz |
2 | Fast | 32.3Hz |
3 | Medium | 18.5Hz |
4 | Slow | 18.5Hz |
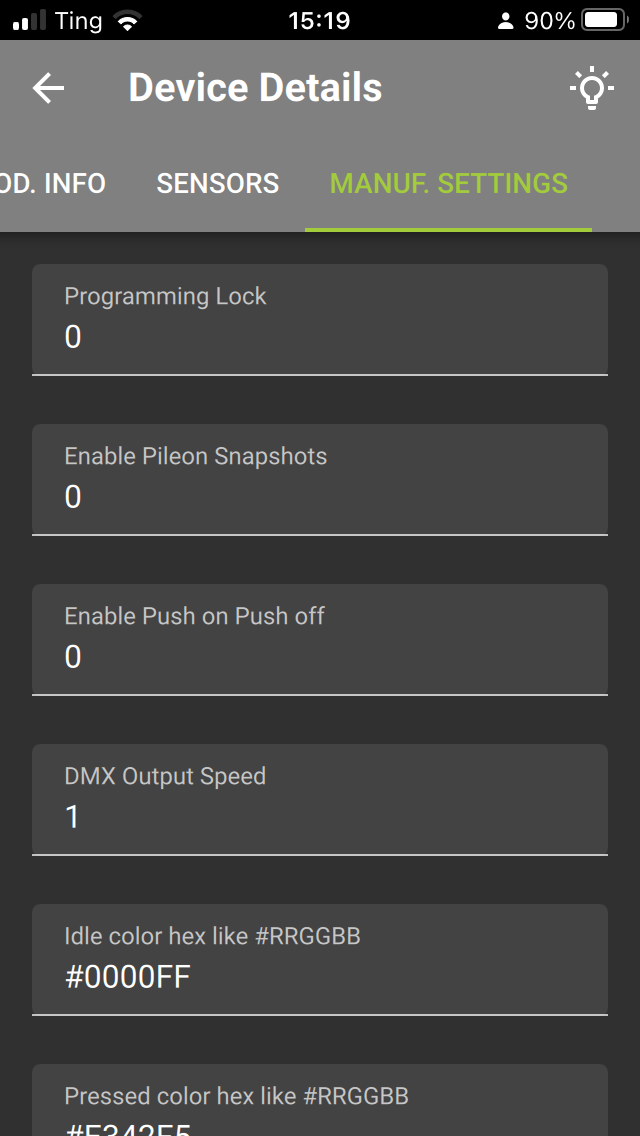
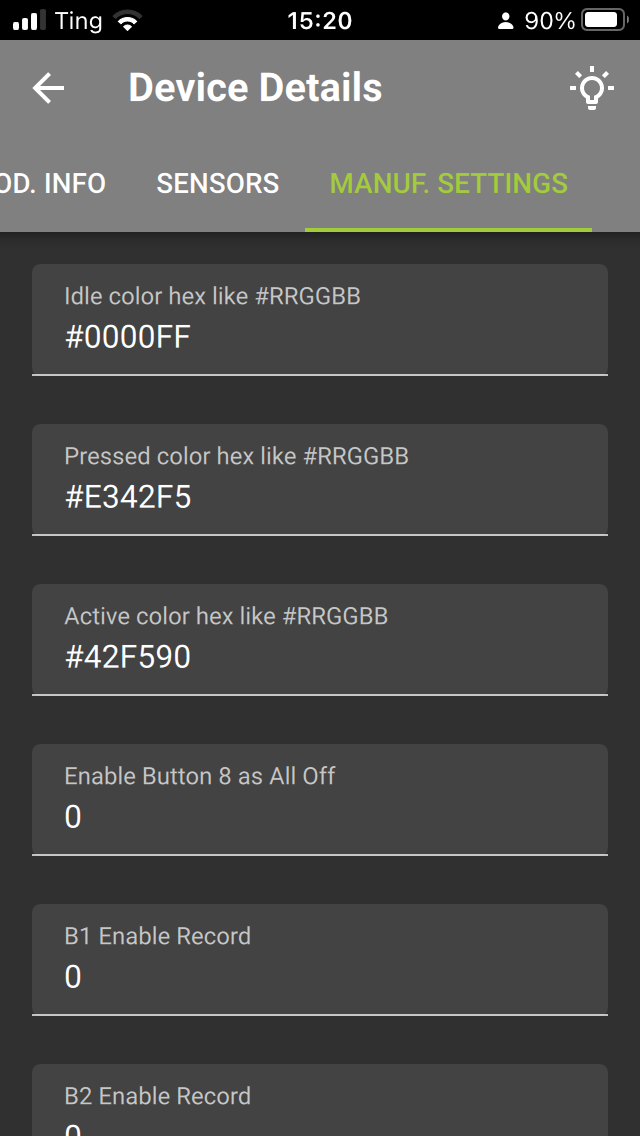
Idle, Pressed and Active color hex
These set the button colors for idle, pressed and active modes in a web hex format. The format of the string is the # character followed by 6 hexadecimal digits. Searching the web for “hex color picker” will find you many color pickers that let you choose a color and then type it in here.
The color format is two digits each of Red, Green, and Blue from 00 to FF. Rosalind Lite does not support the “short” 1-digit for each color format (like
#F00), and does not support the 8-digit “alpha” format.Enable Button 8 as All Off
This enables Button 8 to be the “all off” function. When enabled, pressing Button 8 will deactivate all active buttons and fade to black. This is particularly useful with Pile-on Mode, which would otherwise require you to turn off each preset individually.
Enable Record
Selecting this (and then pressing Save Settings to push to the hardware) will enable recording on the button. The button will blink while in this mode.
Programming Buttons
Programming through DMXCat™️ is nearly identical to programming with a console.
First, put the button or buttons you want to program into Program Mode by selecting Enable Record for each of those buttons. The buttons will blink to indicate they are ready to be programmed.
Once a button is in record mode, it will stay in record mode until the device resets or the cue is recorded. You can put all 8 buttons into record mode and record them one at a time. Setting parameters and recording colors/snapshots are separate phases.
Programming a Snapshot
- Set the lights to be what you want using a console or DMXCat™️
- If not already in Program Mode, select Enable Record for the button you wish to record onto, and press Save Changes. The button will blink.
- Press the button to record.
