
1. What’s in the Box?
A standard Tybalt unit includes:
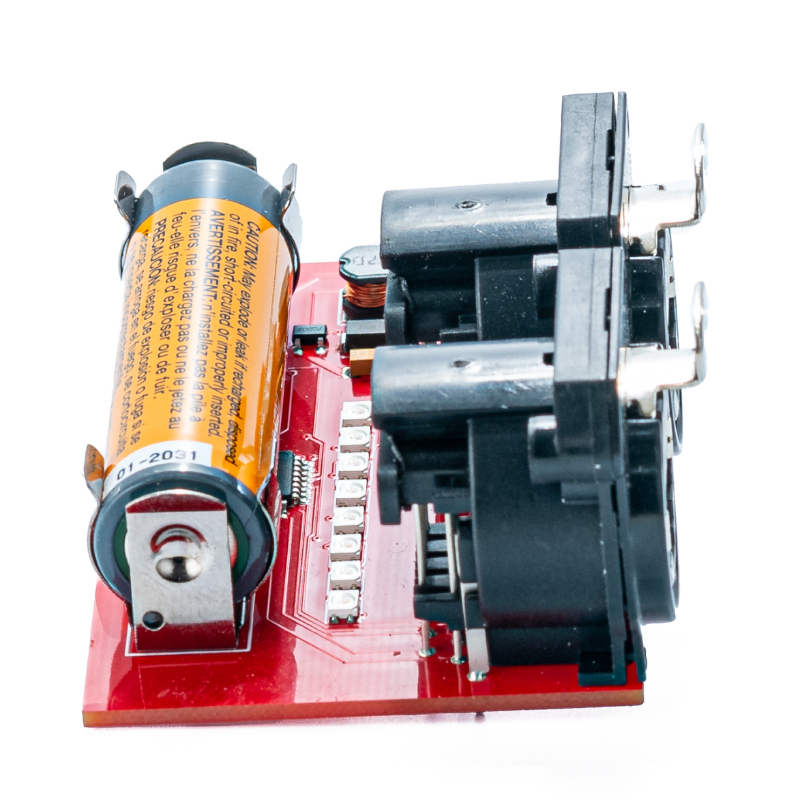
- Tybalt raw PCB (as pictured)
Battery is not included.
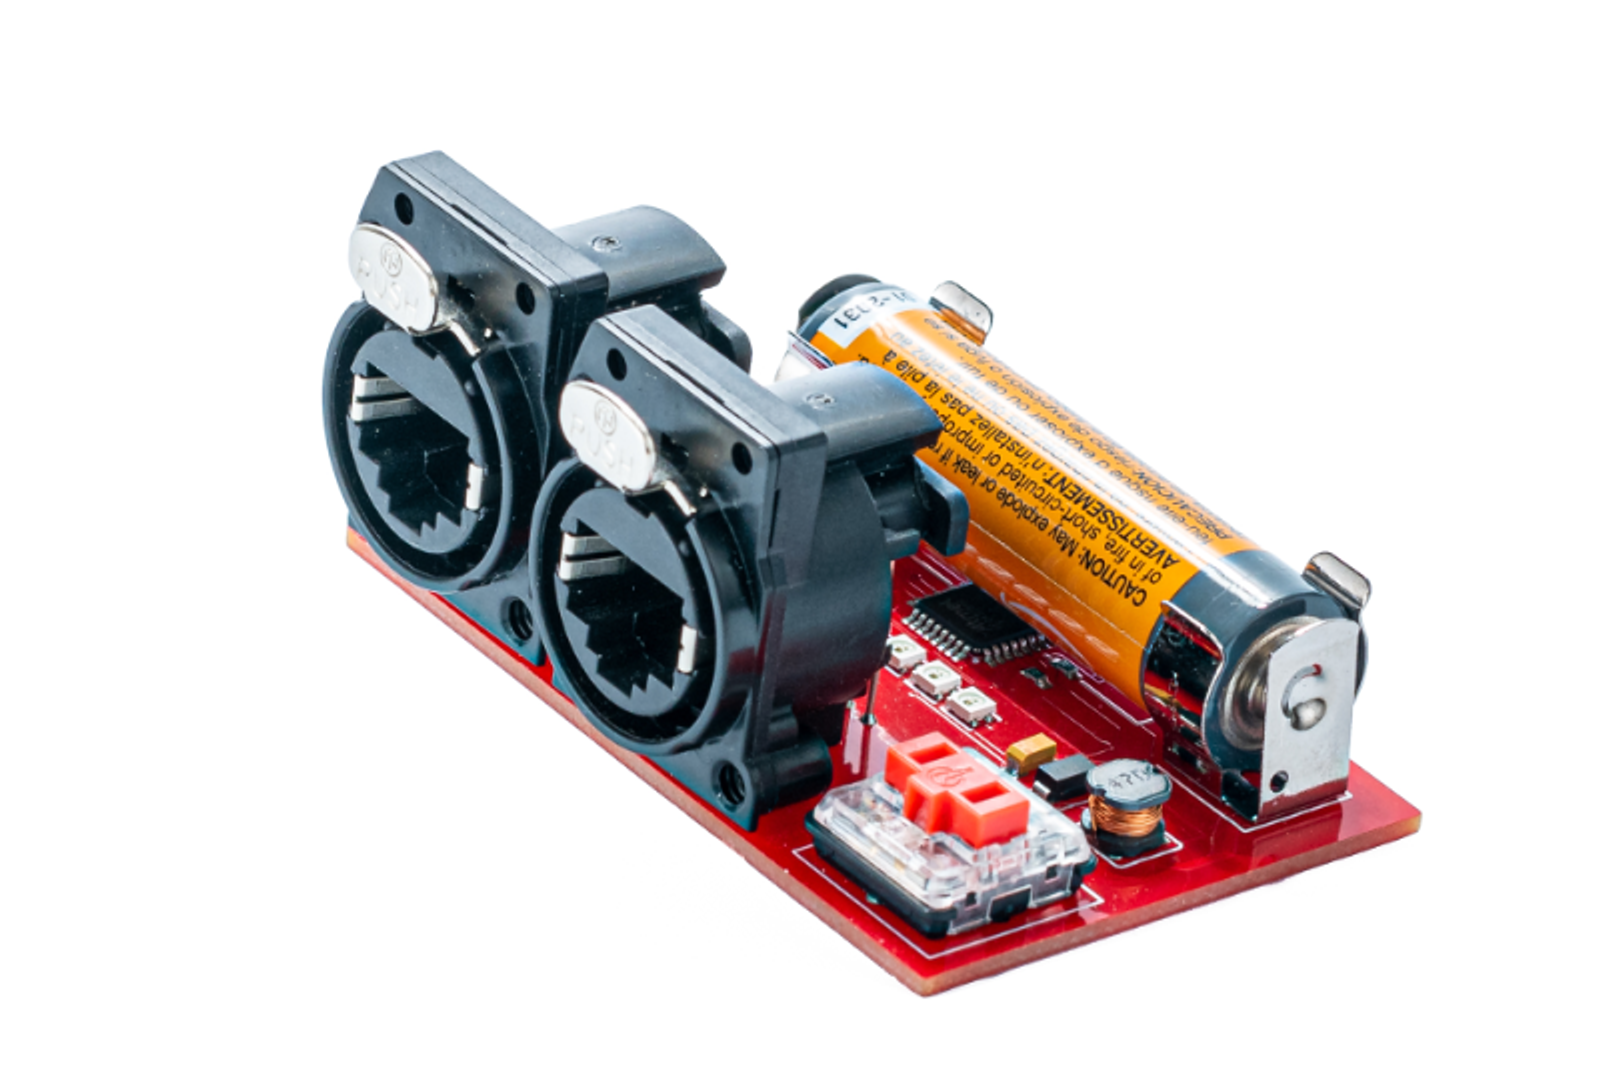
2. Install Battery
Install a single AA battery (disposable and rechargeable both work), following the polarity marked on the board.
Tybalt runs off of a single AA battery (1.5V), but it will work down to about 0.9V.
It’s a perfect use for partially-used batteries - as long as the lights come on when you press the test button, you know your battery has enough juice to power it!
3. Plug in Cable
Plug both ends of an RJ45 or etherCon cable into the tester.
4. Press Button
Press and hold the red button next to the cable connectors to test.
5. Read LEDs
When the button is pushed, the LEDs in the middle of the board will indicate the state of the cable:
LEDs | Meaning |
None lit | Battery needs to be replaced. |
All Green | Cable is good! |
4 Green, 4 Yellow | Cable is good, but is a crossover cable. |
Any Red | Red LED corresponds to a disconnected, shorted, or incorrectly connected wire. |
All Red | May indicate a completely disconnected cable. |
It’s important to note that Tybalt can’t tell you if you have a working ethernet cable. He’s simply making sure all the conductors are connected correctly, with no opens, shorts, or crossovers!